
I know, I know, this probably reads like a click-baity title but I promise it’s true – although I didn’t factor in the value of my time (of which I used a lot!). I used easily sourced paints and you can do this too – I promise!
Before
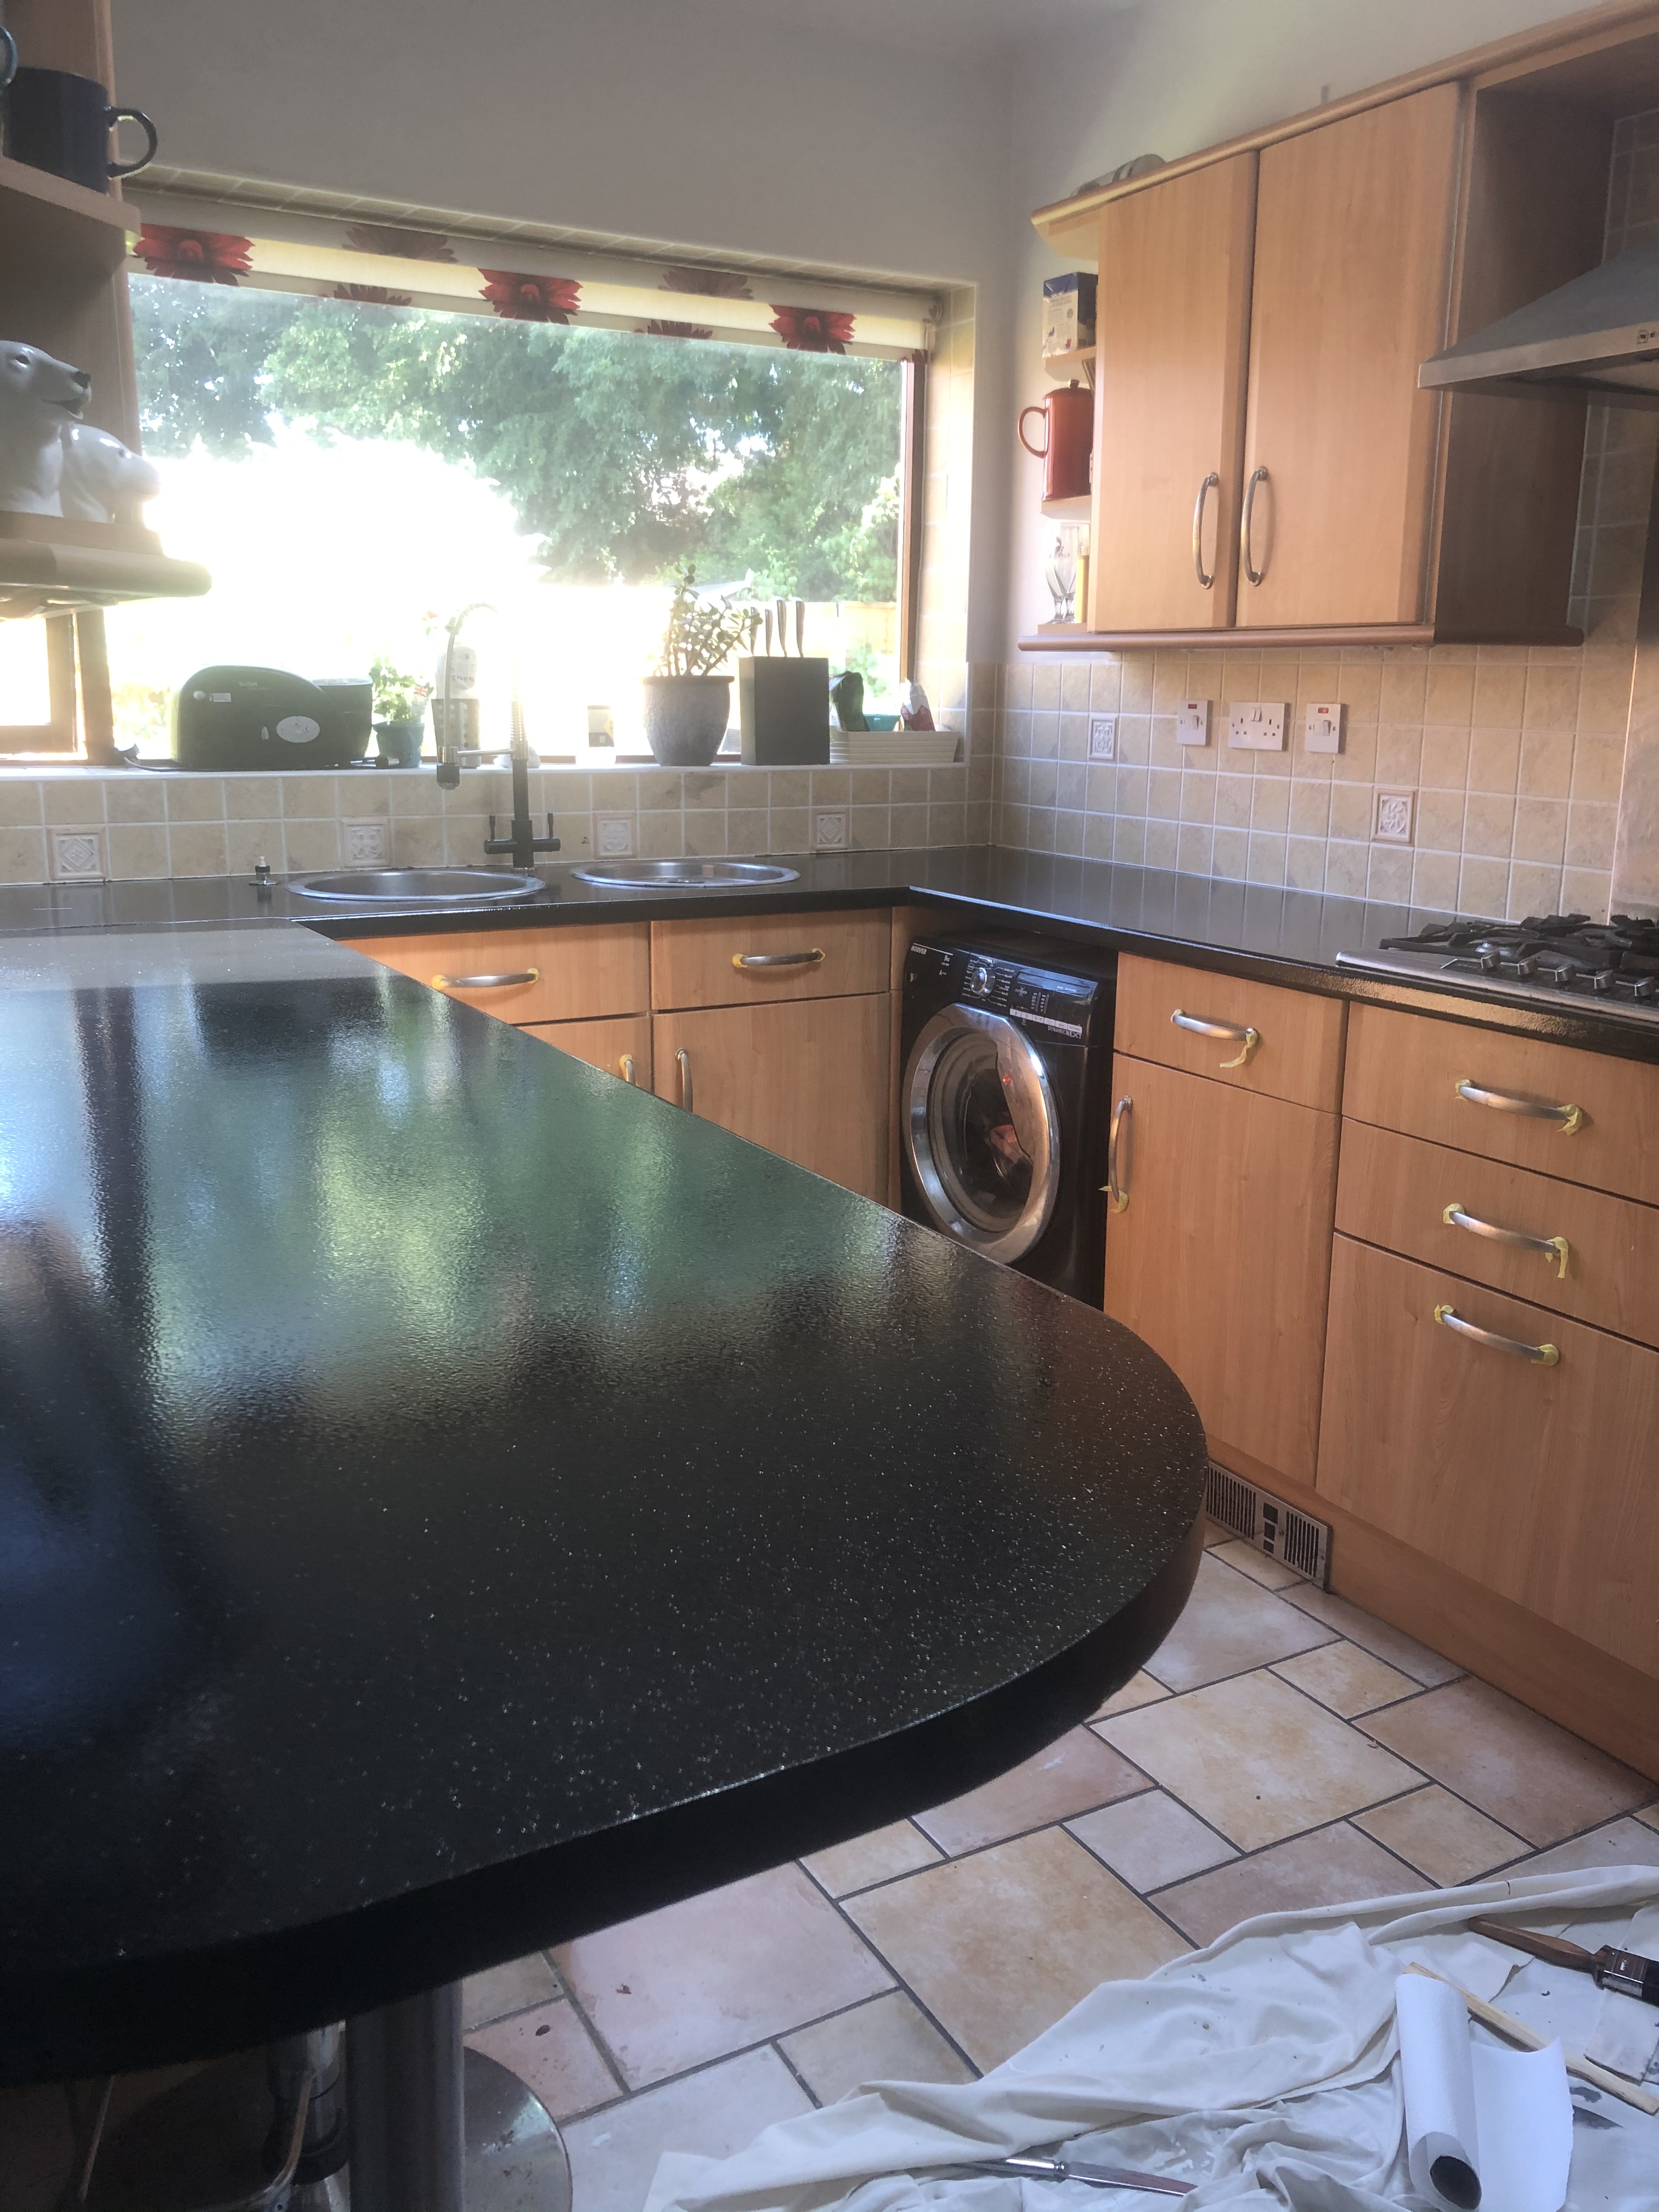
The obligatory ‘before’ picture – bear in mind that this picture was taken when we were considering selling the house, so it looks in much better nick than it ordinarily would.

There was nothing wrong with it, but it was a bit twee and was looking old fashioned. The yellows tones are not my cup of tea at all. BUT we loved the layout, the breakfast bar is ace and my brain couldn’t come up with a better way of setting out this space. Plus, we’d recently replaced the dishwasher and the other electric goods are in great condition too. There was absolutely no reason to spend a load of cash replacing the kitchen – but that didn’t stop me from being unhappy about it.
During
Once I’d decided how I wanted the kitchen to look, there were a few steps to complete. Before that, I painted the walls with some Dulux Polished Pebble Silk paint to brighten and cool the room – that was £15 from B&M.
Step 1 – The Work Surface
I wasn’t a big fan of the green colour of the work surface. It’s nothing expensive – just a wrap over a wooden base – so I wasn’t precious about changing it up. Research told me they could be painted. After some deliberation, I decided on the Galaxy Black kit from Rust-Oleum Kitchen Worktop Transformations. I ordered from Andrews Coatings, and the total cost including delivery was £84.22. It took a while for this to arrive, but it was ordered at the peak of lockdown!
If you have a look, there are lots of other colours available too (and lots of brands), like this Diamond White one or this Sicilian Sand one.
The kit was really easy to use. You just sand your surface down, add two coats of the black paint and then top it with a special gluey layer which hardens and makes your surface really tough. It takes about a week to fully harden though, so be careful how you use it in the meantime.
Step 2 – The Cupboards
Oh the cupboards. They were exhausting! If you want every muscle in your body to burn, do this (perhaps I just need to work out more often). Still, worth it. 100% worth it.
I chose to paint the bottom cupboards navy and the top cupboards white gloss. I used Johnstone’s Deep Blue Gulf Satin Finish as the main colour. A little 750ml tin goes a long way, I managed three coats of the bottom cupboards with mine and it cost £14.99 from B&M.
First, though, I used two coats of a white undercoat (£13.99 for 2.5l from B&M, more than enough for all of the cupboards). Although the tin says it doesn’t need it, I wanted the cupboards to be as hard wearing as possible and thought this would be a good idea. Here I am doing the first coat of blue after applying the two coats of undercoat:
And the second:
The top cupboards followed the same pattern, two coats of undercoat followed by two coats of white gloss (£13.99 from B&M).
My top tips:
- Clean the cupboards thoroughly with hot water and soap first to get rid of any grease.
- Sand them down once dry.
- Remove handles if you can (I couldn’t because they were glued on, so tried taping them up to start with. This made it worse and I just ended up using a smaller paintbrush which worked better).
- Patience, persistence and frequent shoulder rubs.
Step 3 – The Tiles
The wall tiles always looked dirty and the colour was just grim. I wanted to paint them white continue that fresh, bright look. I started with a tin of Dulux Iced Ivory Tile Paint from (you guessed it) B&M – that was £17.99. However, after the first coat it was evident that it wasn’t the bright white I wanted – fortunately it made a great undercoat though! So instead I ordered a tin of Johnson’s White Tile Paint from Amazon for £20.98. I did another two coats with this.
Make sure you sand your tiles first, and don’t use too much paint otherwise it will drip.
Step 4 – Finishing Touches
The fun bit! I used some frames I already had and a free app called Typorama to jazz up some song lyrics related to food. These were the finished results:


I even made a playlist with all of the featured songs to quiz guests when they come over!
The Finished Result…
Here we go – fresher, brighter, and for only £181.16! In the future we will change the barstools, but for now I’m delighted.

Before and after:

I hope this has inspired you to have a go yourself! You can always ask if you have any questions.
*There are some affiliate links in this article. This means that if you purchase something, I’ll get a few pennies for sending you there but you won’t pay any extra.

